For this project, I thought we could discuss detailing your MOC. A colorful, well detailed, well thought out build will add an element of realism. Working within your means (and stockpile of bricks) you can have a lot of fun with what you are creating.
Below is a series of images, taken for each stage of this MOC. The end product is a Kings Treasury. This project is not a "heavy detail" MOC, like a landscape or garden might be. It is however a great demonstration of small details to give an over all finished look.
Below is a series of images, taken for each stage of this MOC. The end product is a Kings Treasury. This project is not a "heavy detail" MOC, like a landscape or garden might be. It is however a great demonstration of small details to give an over all finished look.
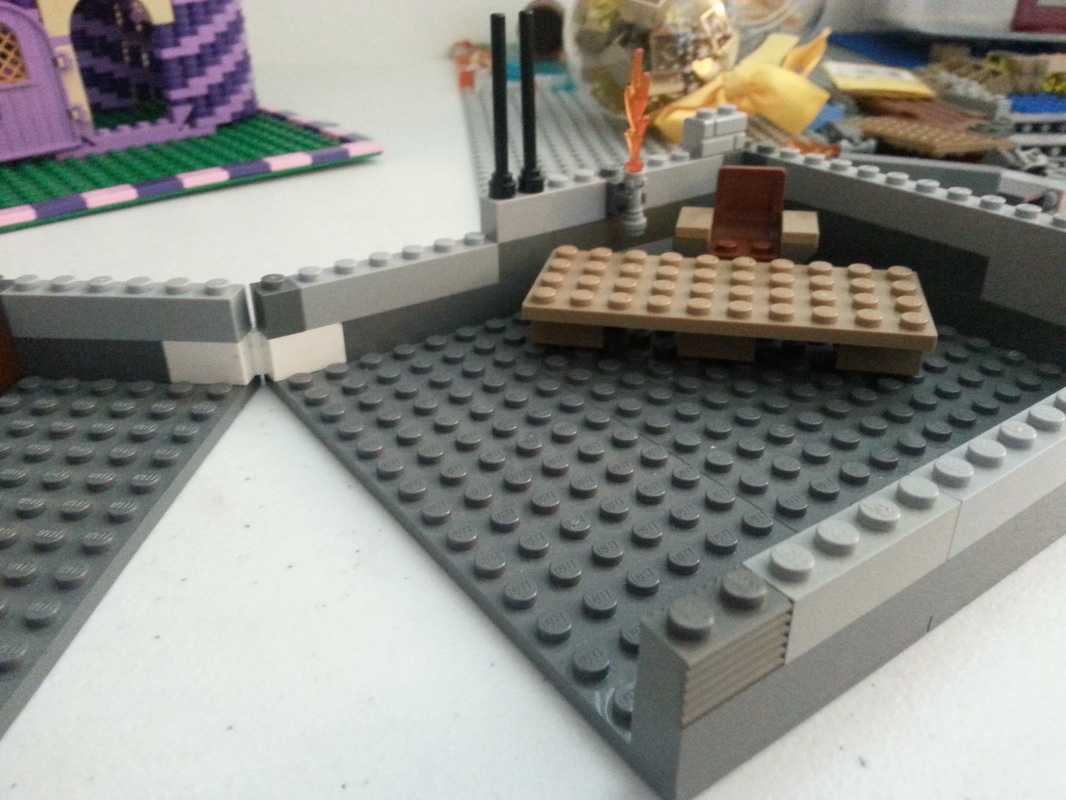
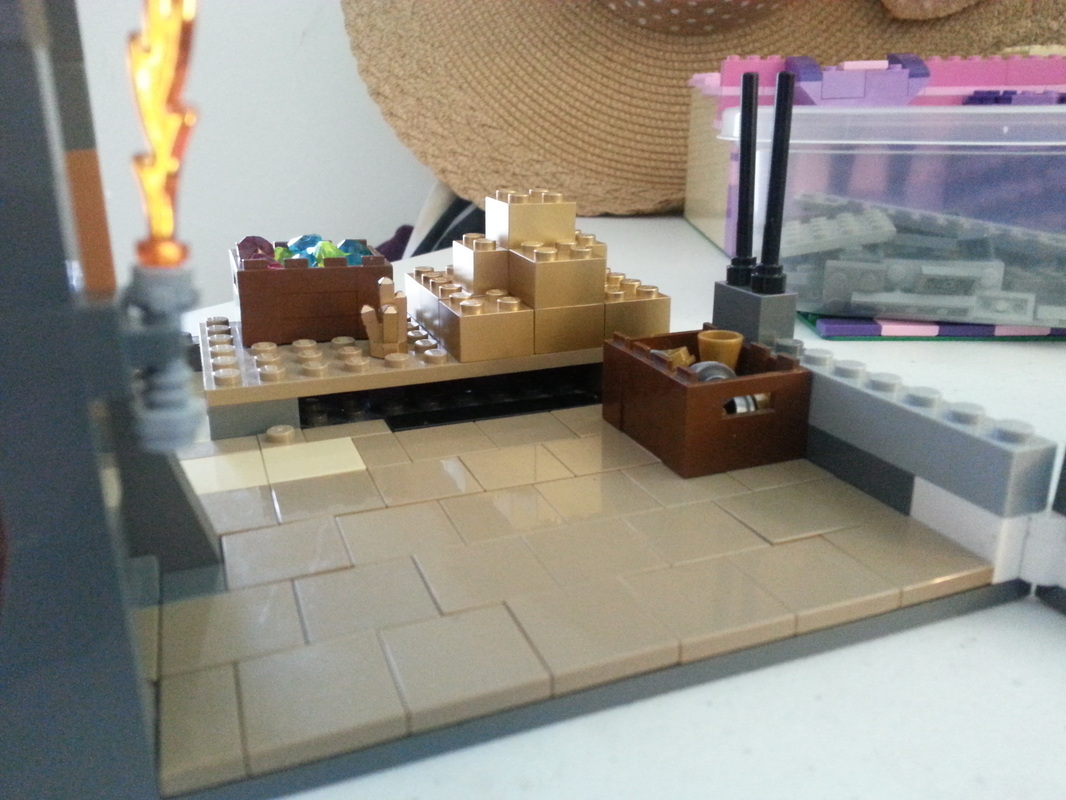
| Start with the "footprint" of your idea. For this project I wanted a hinged base, so that my child could open it like a dollhouse to play. | 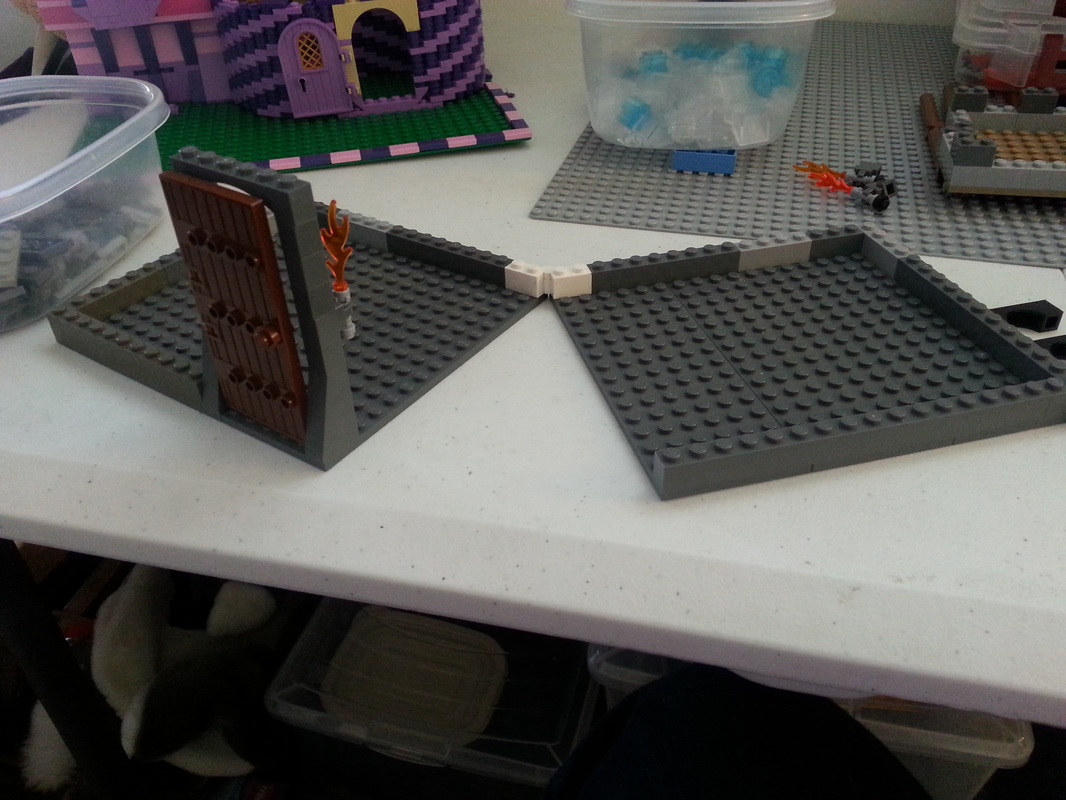 |
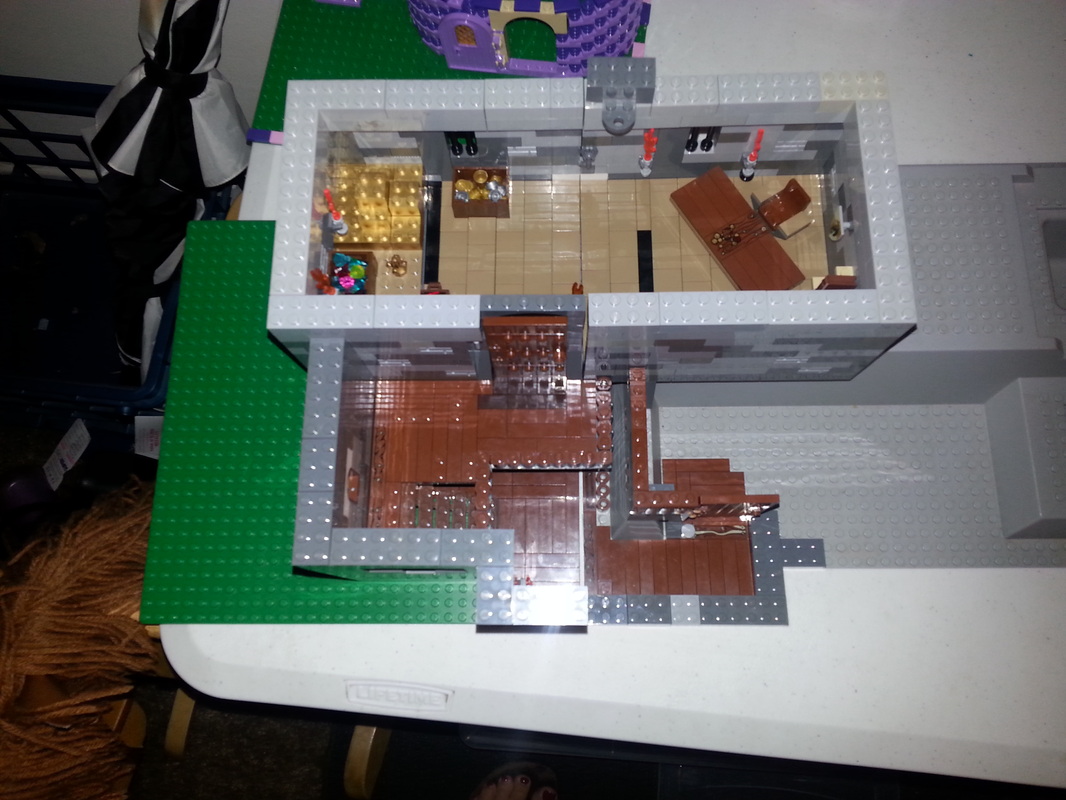
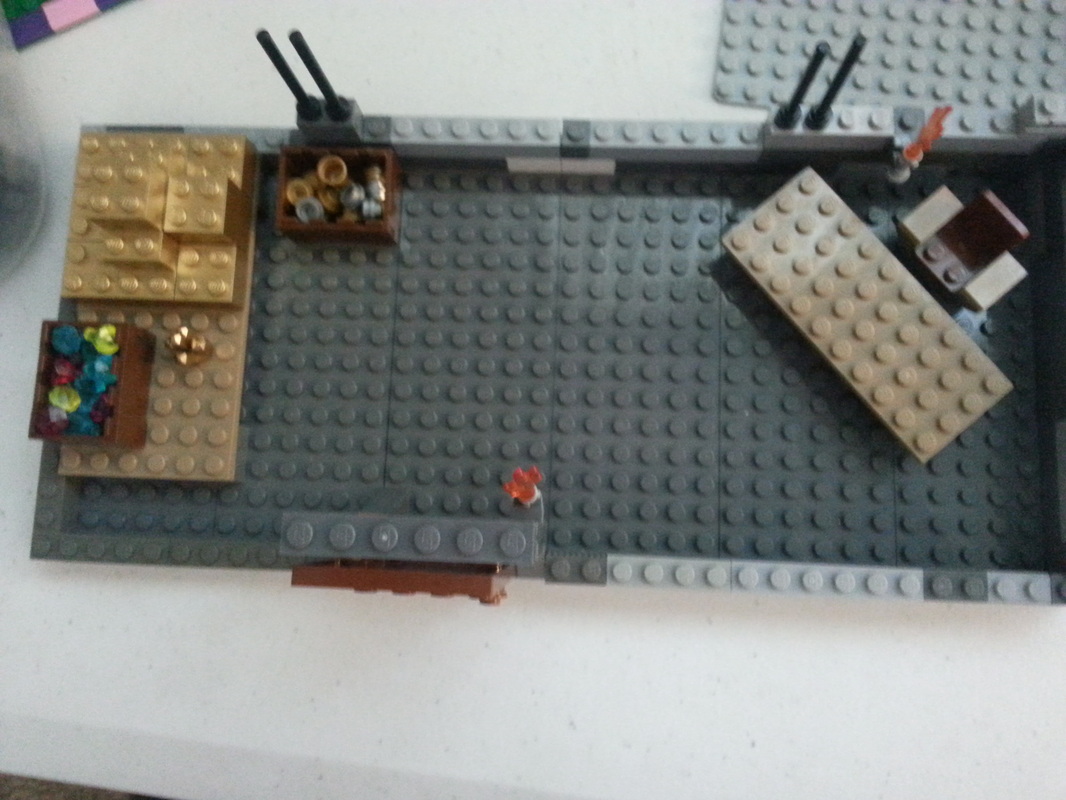
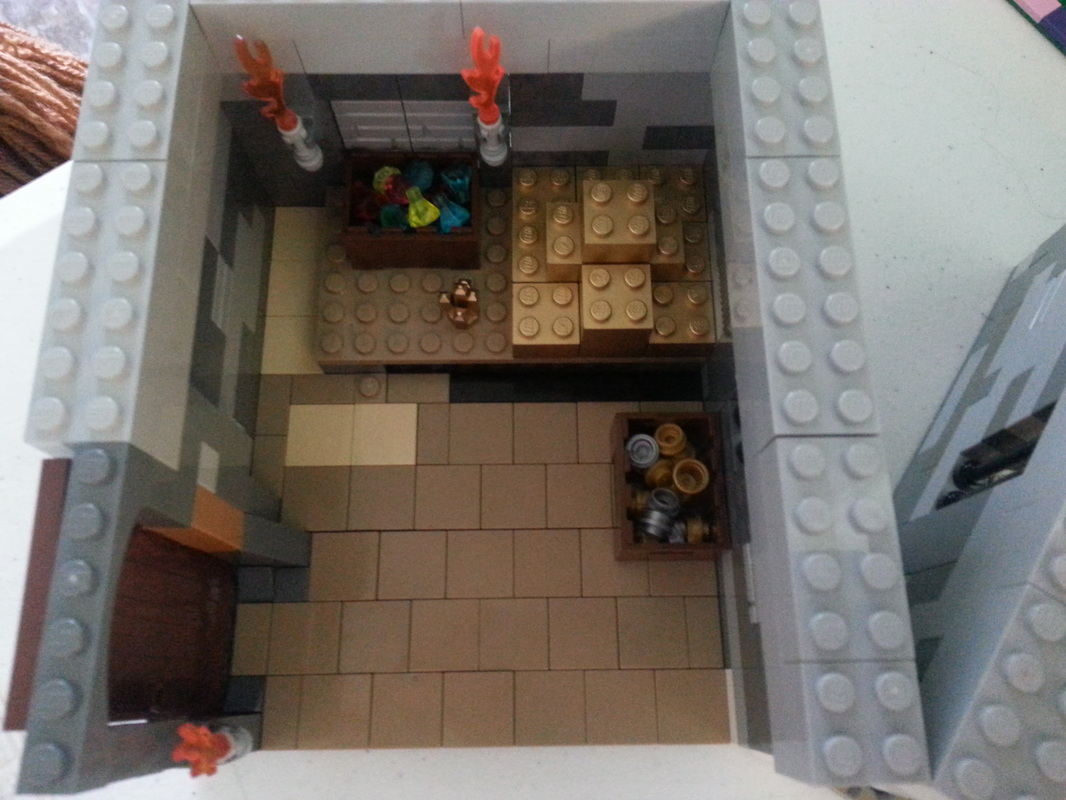
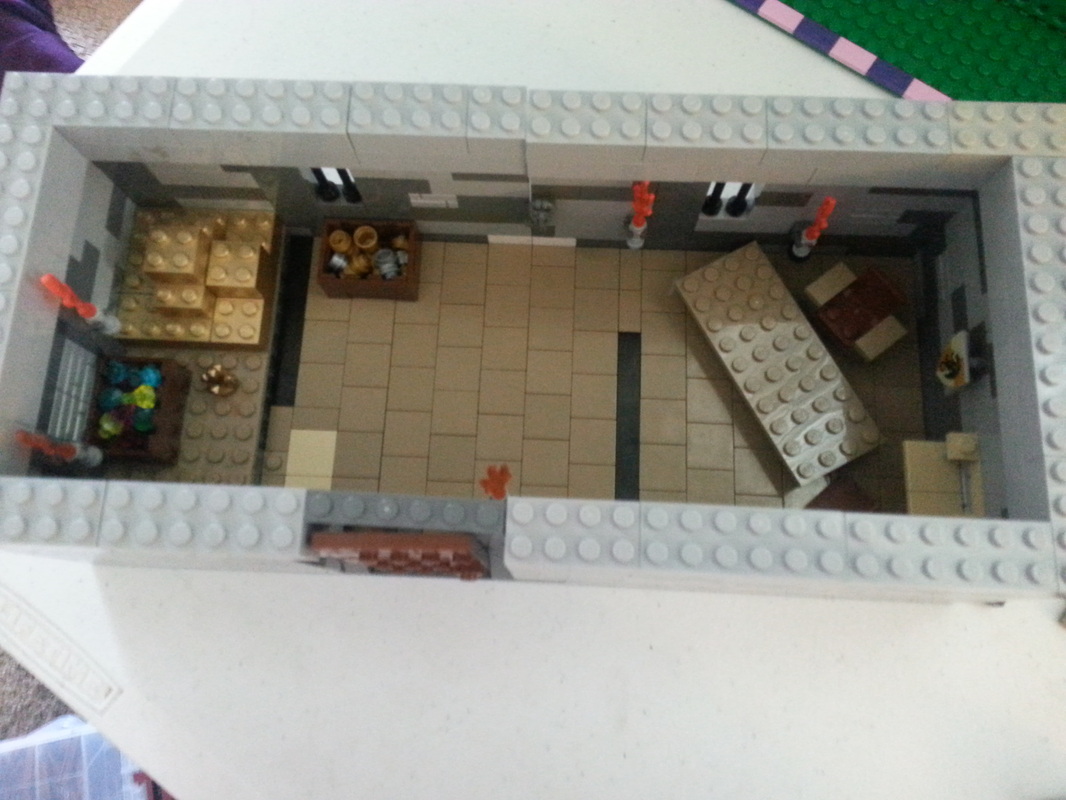
After you have a basic footprint, it is time to lay out the interior design and floor-plan. This project needed a pallet stacked with gold bricks, and boxes or chests of treasure. Then on the other end a Counting table or desk, and chair. Keep in mind that this is a rough draft, and you can always change it around later.

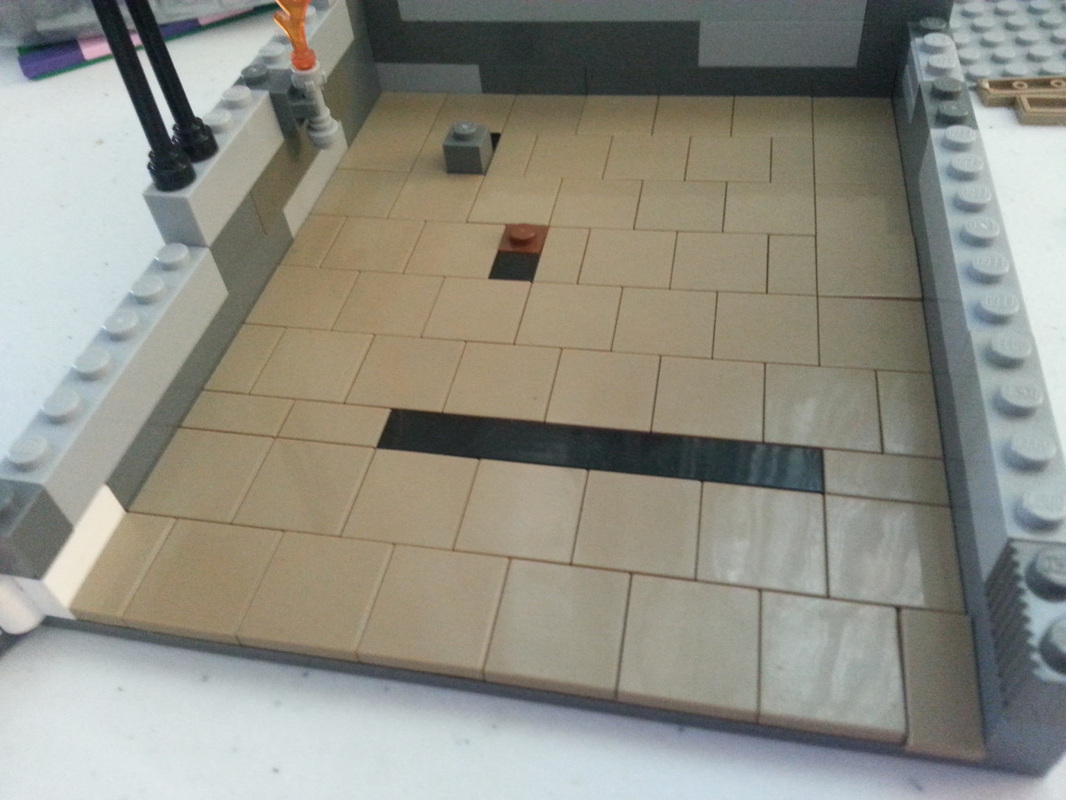
If you are planning on tiling the base you are working on, now is the time to do it. Getting all the "snot" pieces in place once the walls and possibly the roof are finished can be a pain in the pattootie.
I also strongly suggest:
I also strongly suggest:
- put in a few single dots or 1x1 pieces in the locations you plan to have details or furniture.
- Do not press your "snot" tiles into place until you have laid them out in the design you want. Pulling those little guys off the base once pressed down can be tough, even painful sometimes.
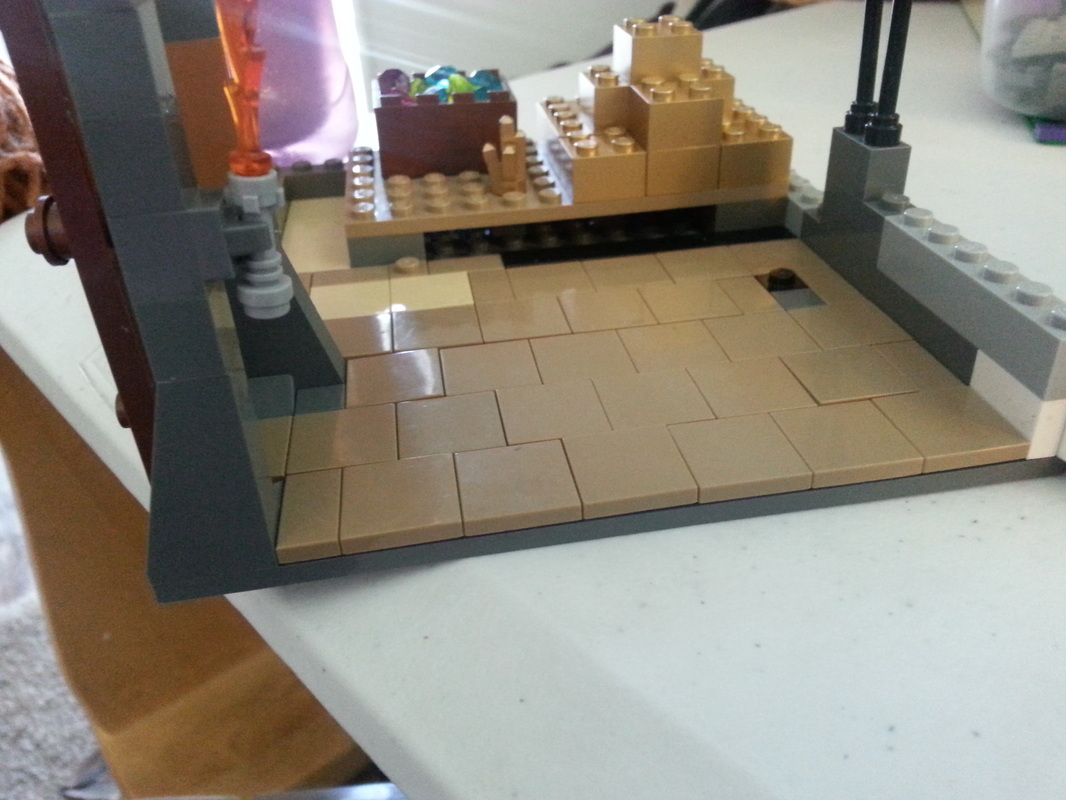
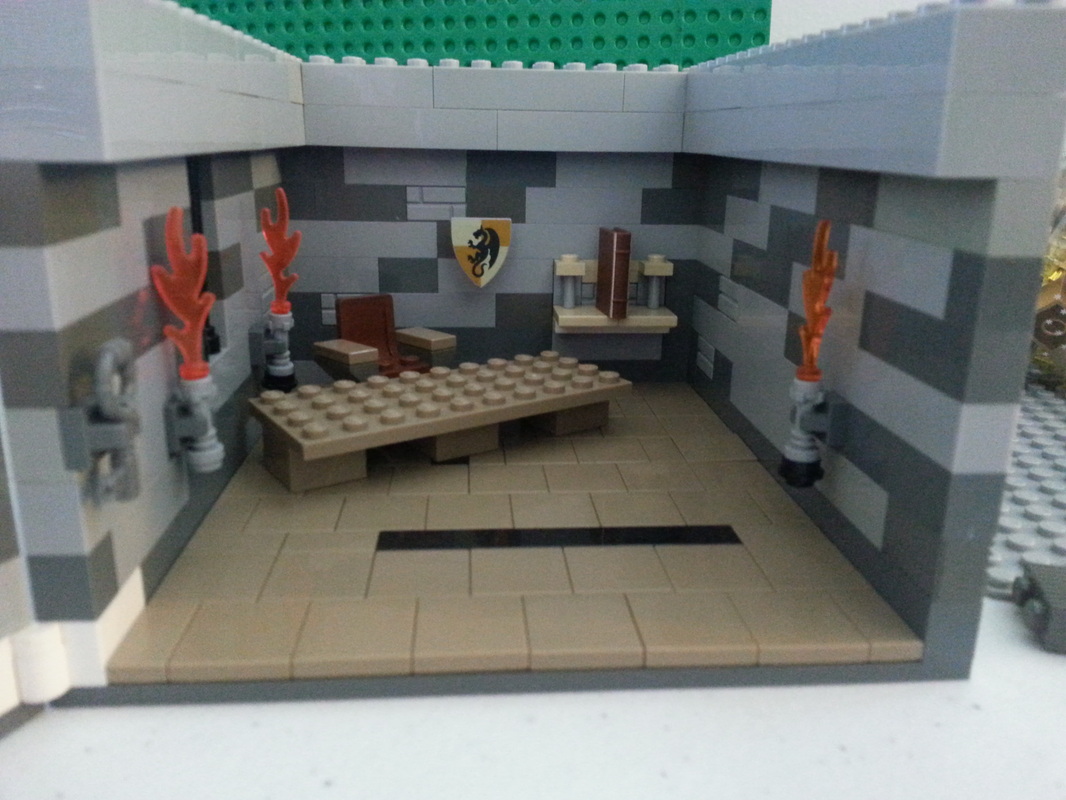
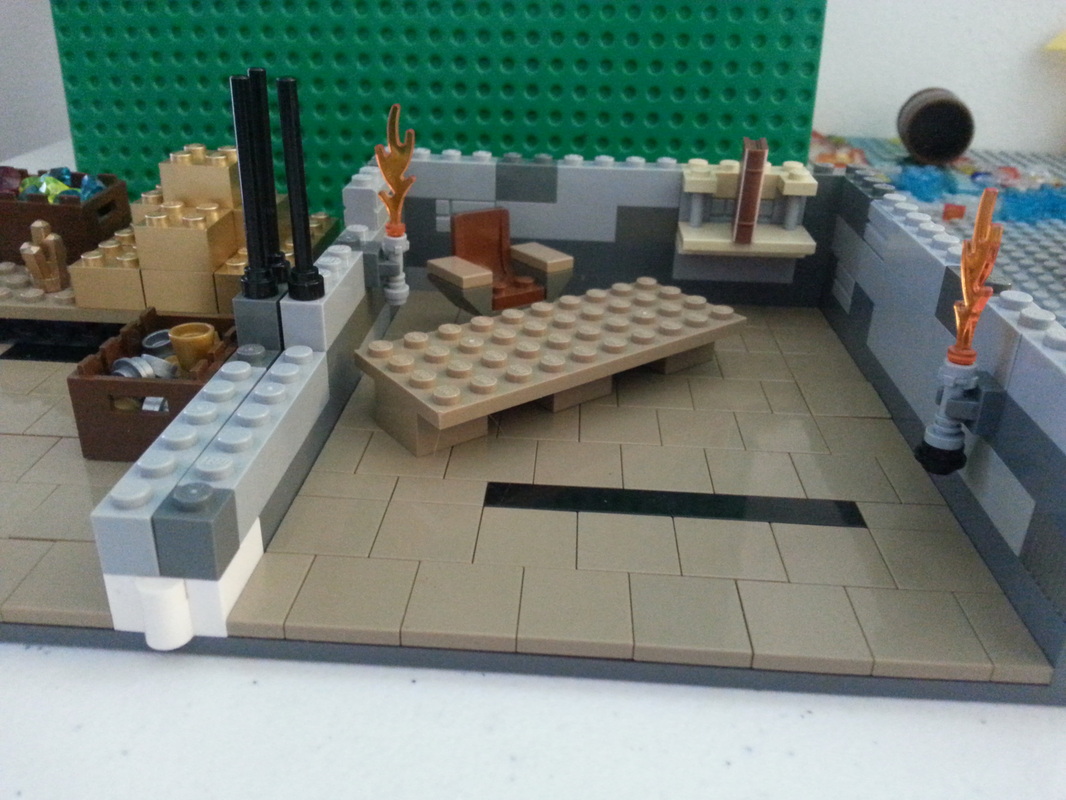 | Once the floor plan is set, it is time for the walls. A plain flat color wall is not the way to go for a realistic feel. Sconces and accents such as the bookshelf add to the fun and realism. |
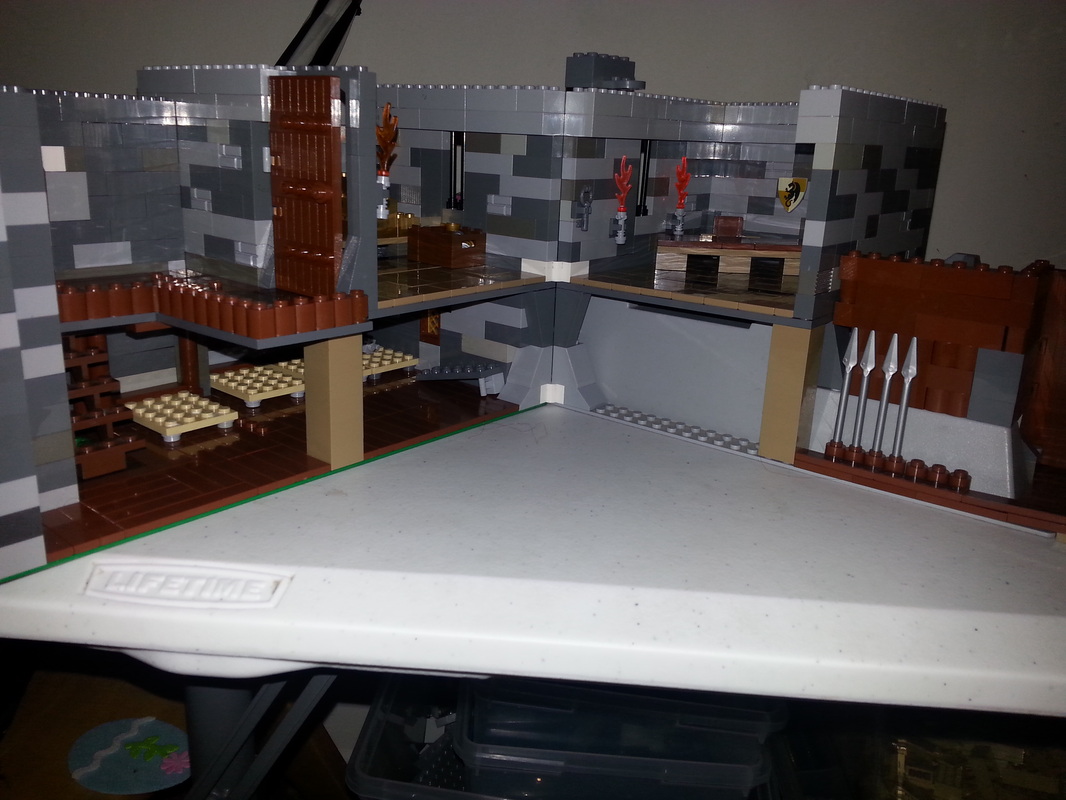
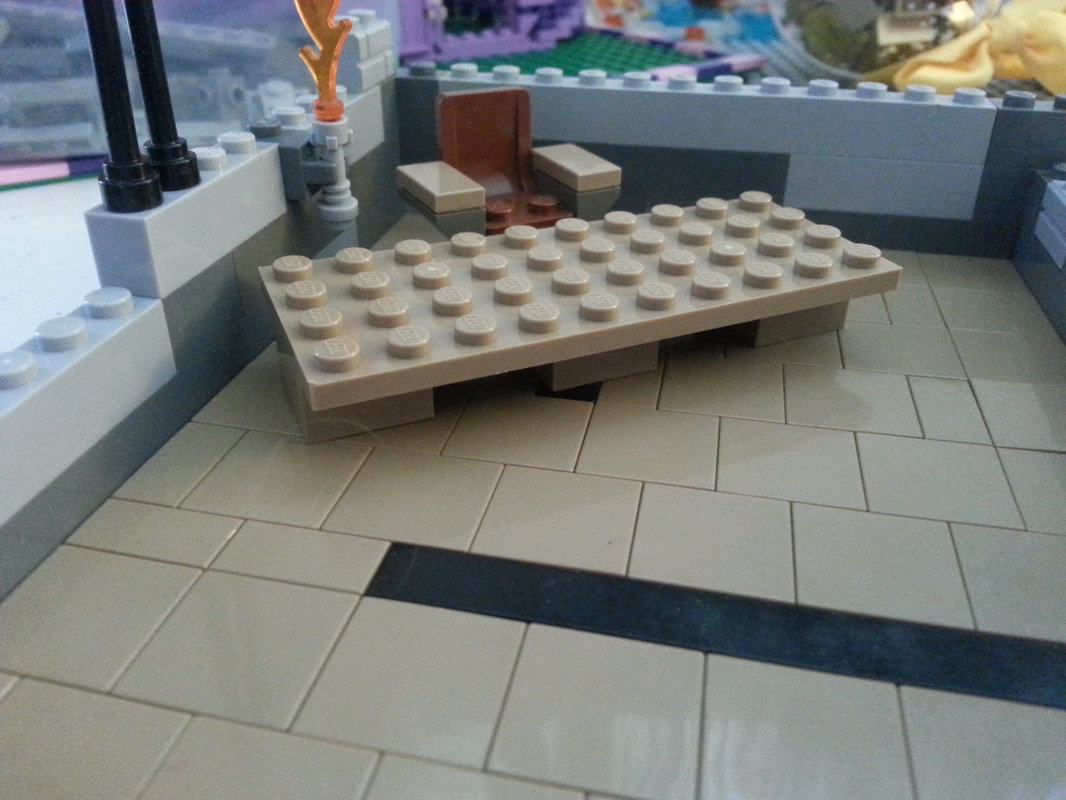
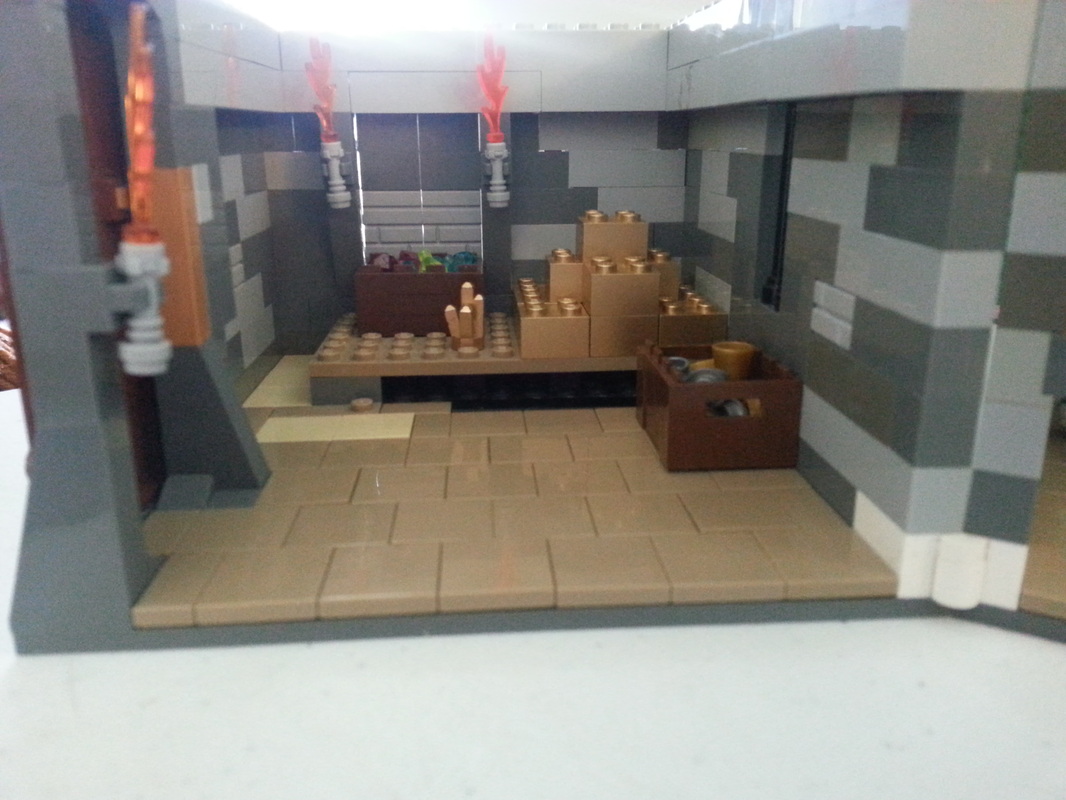
The interior and the walls are finished. There is now a counting desk with chair, a ledger book on the shelf, sconces with fire, and a key on a hook. The treasury area has a stack of gold bricks, a box of jewels and a box of gold and silver "coin."

I like to use single wide bricks for walls, but tend to use one or two layers of double wide bricks along the top edge. I find it gives the roof, or next level floor more support. In a very tall room, it can even give a "vaulted" ceiling appearance.
I had not decided if this project would be stand alone, or go with a larger castle yet, so I left the roof off for the time being.
I had not decided if this project would be stand alone, or go with a larger castle yet, so I left the roof off for the time being.
| This is the back side of the project. The white brick is the hinge. Some builders like a flat same color wall, but I really find those dull. I like the textures and color blends. I do not however suggest random colors, try to stick with a theme for your build. | 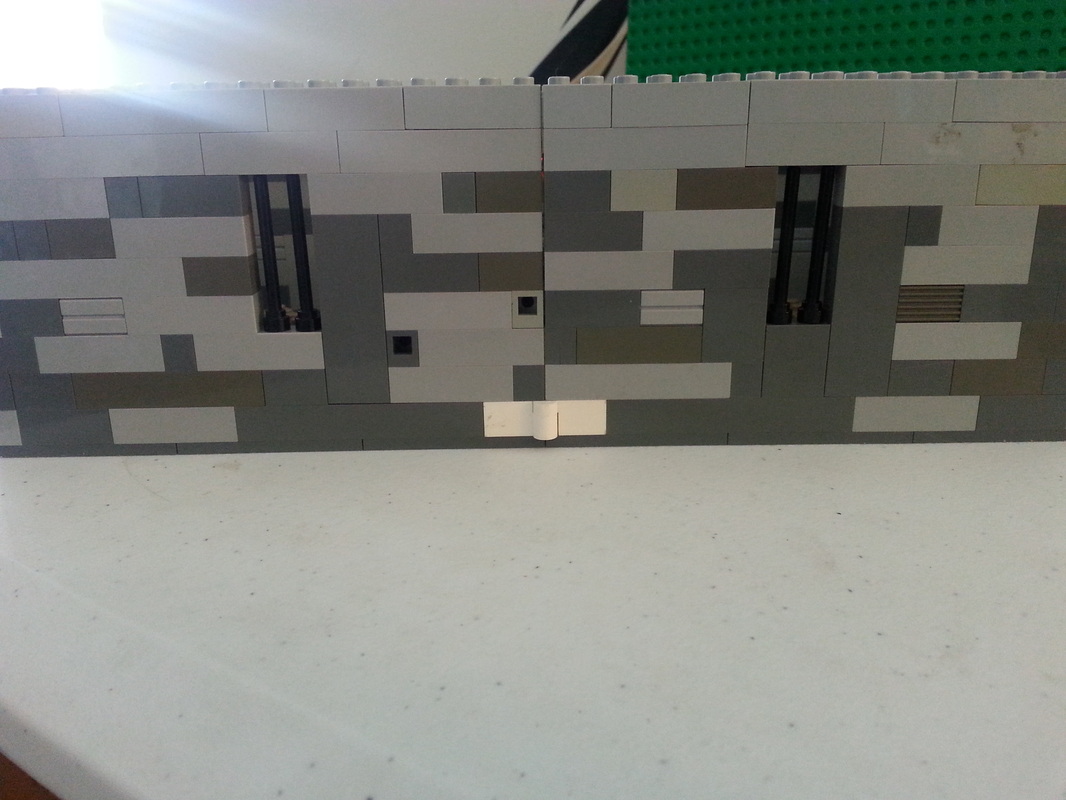 |
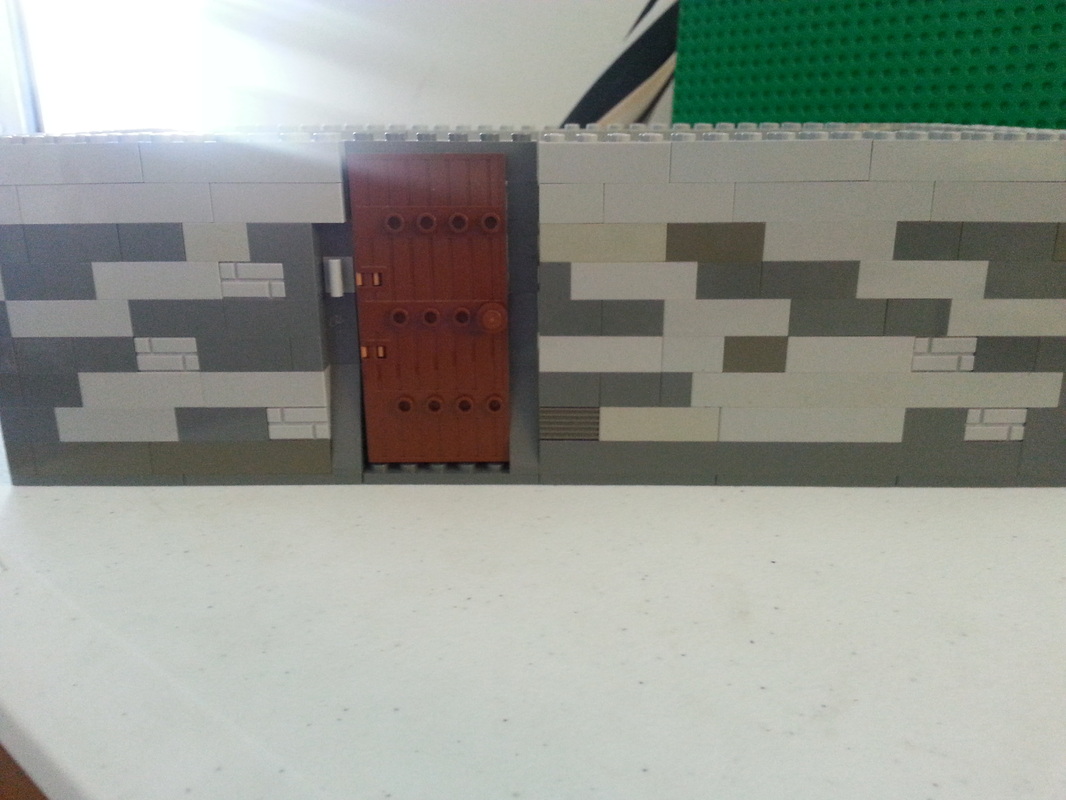 | This is the front of the treasury. The halves open up next to the door. |
Last night I decided to add this project to a larger multi-level castle. The treasury you just learned about is now on the second floor. Placed above a guards bunk room and armory. As I add to the castle, I will post pics in the images and quick looks section.